
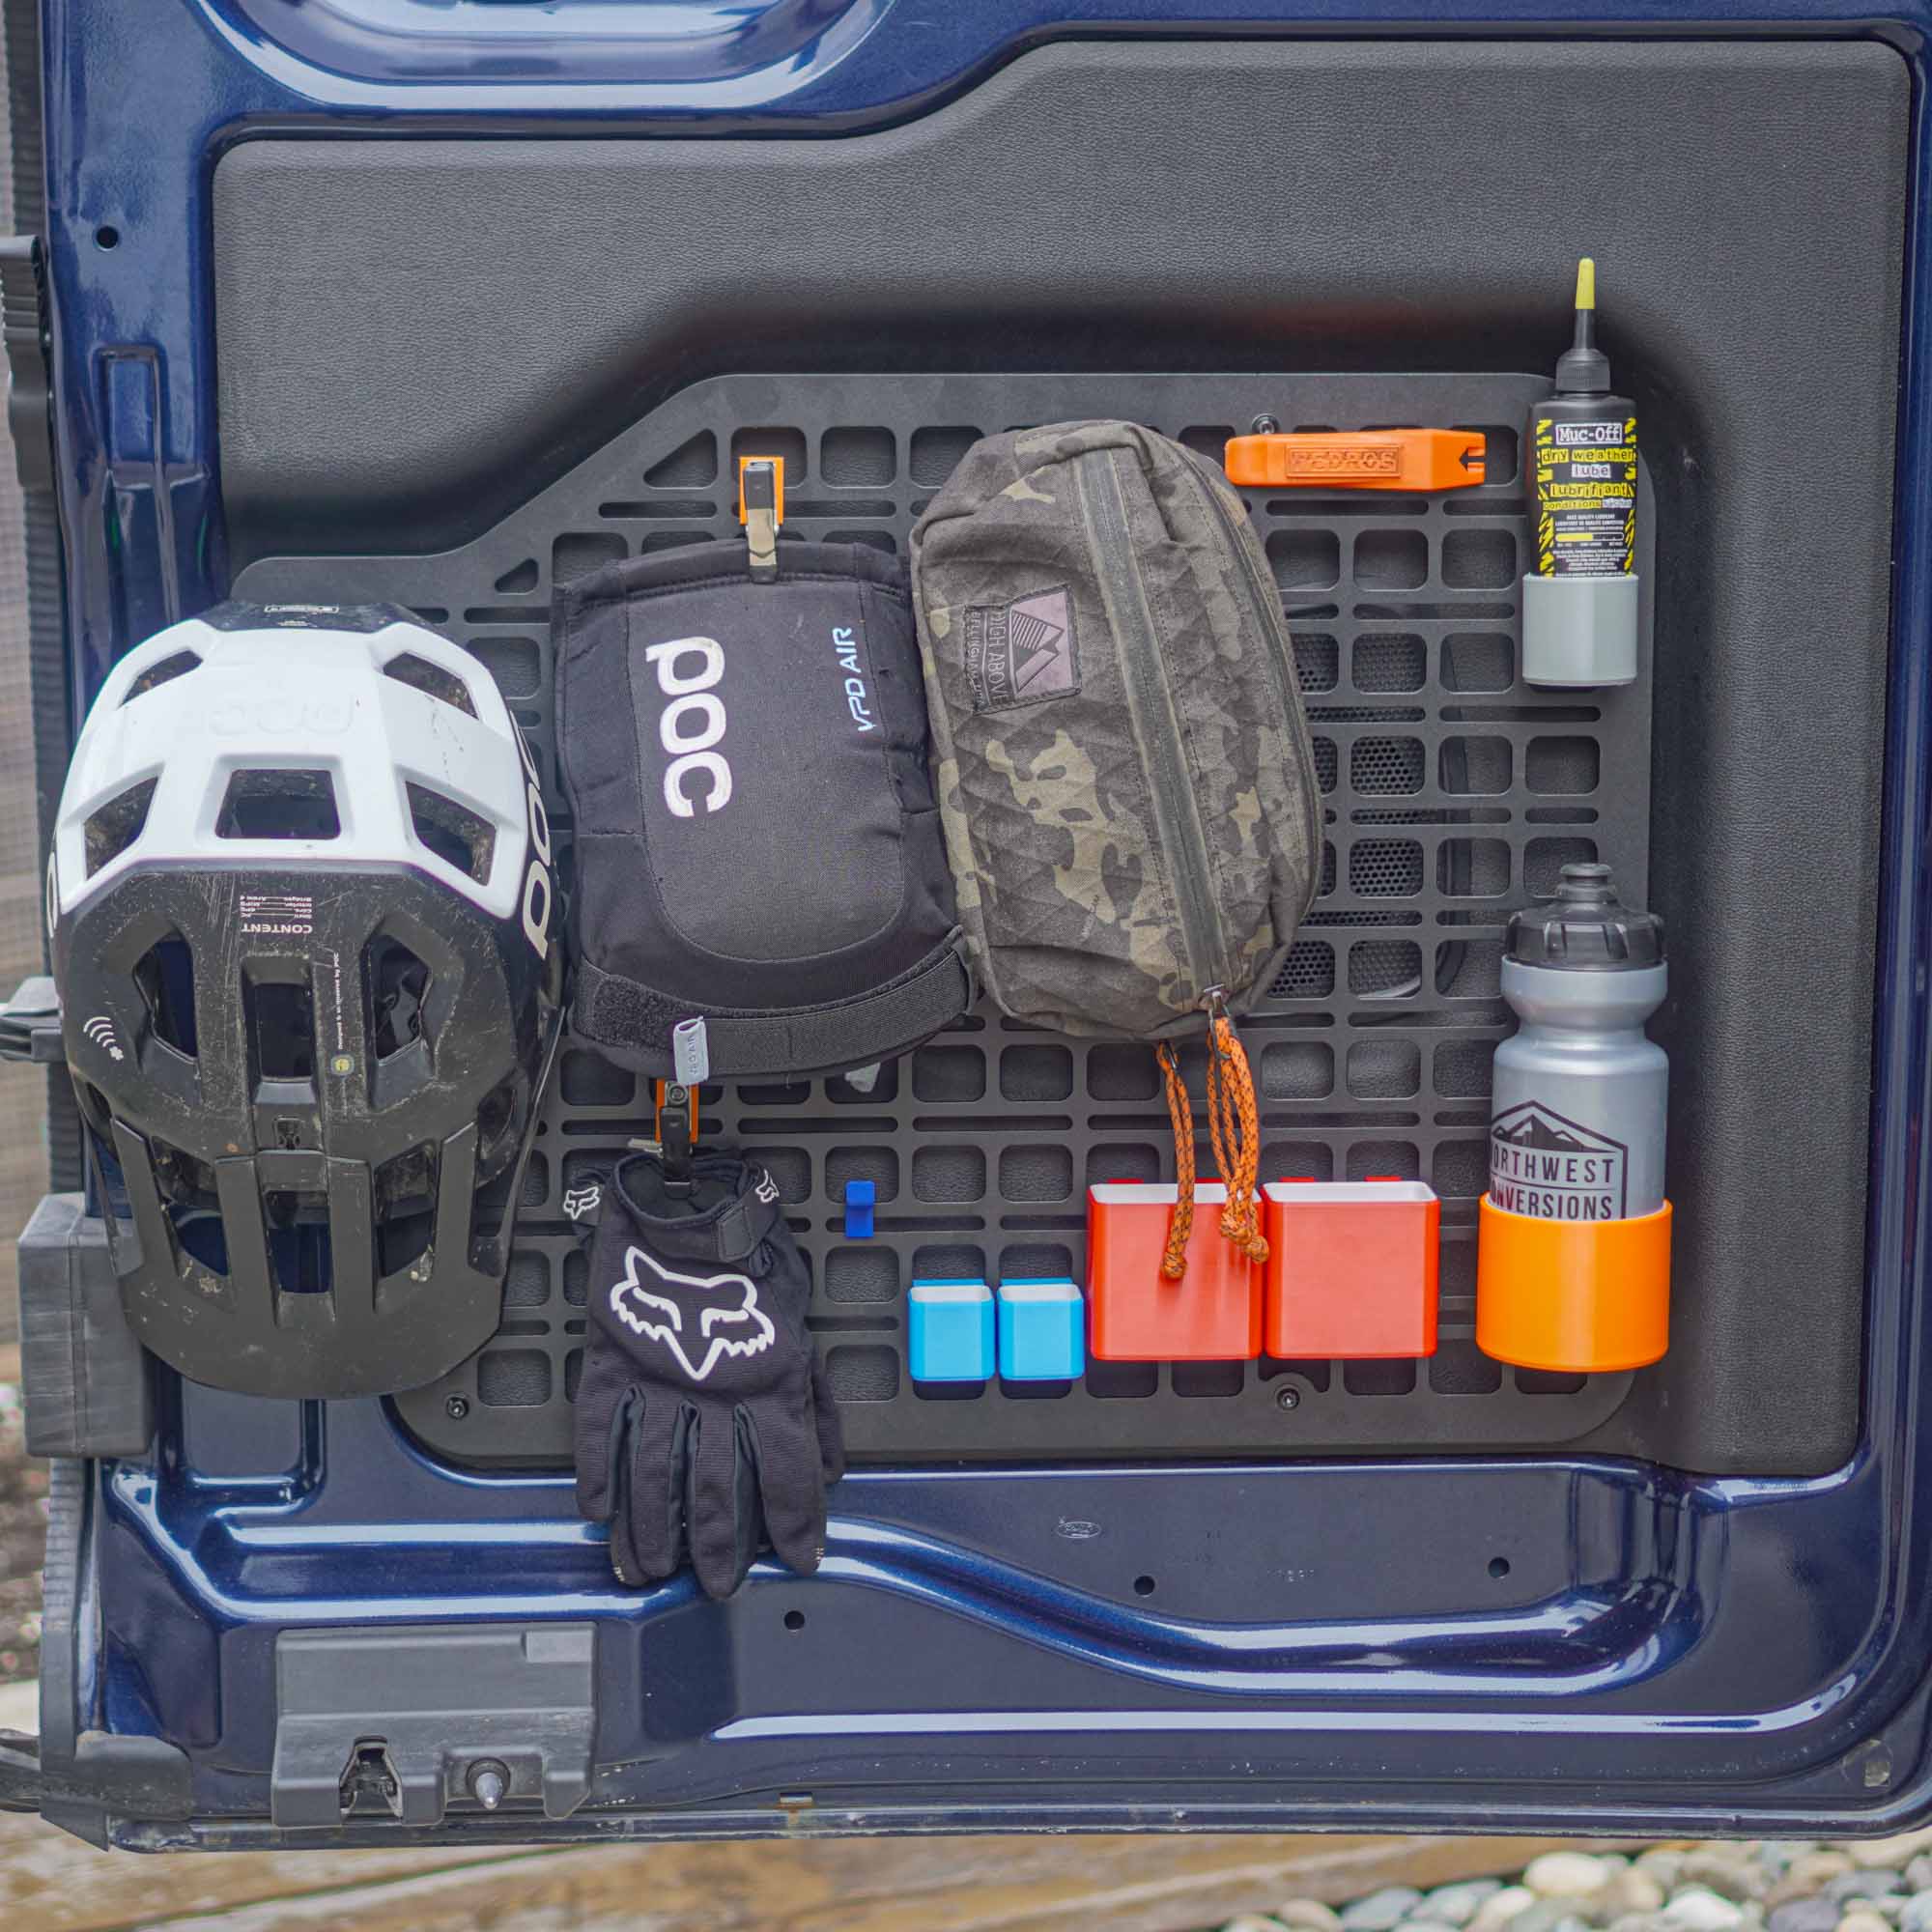
Molle Panels for Ford Transit Rear Door
$ 98.84
Table Of Content Specifications/Dimensions Accessories Passenger-Side Installation Driver-Side Installation Specifications/Dimensions The molle panels follow this pattern: Rectangles cutout: 1.0in tall x 1.25in wide. Rectangles spacing: 1.75in tall x 1.5in wide. Horizontal slots: accept 1/4″ bolts (or M6). Horizontal slots spacing: 1.75in tall. MOLLE panel thickness: 3.5mm. Accessories Molle Panels for Ford Transit Rear Door5.00 out of 5 $349.95 3D Print Models: Nut Plate for MOLLE Panel (3D Print File)0 out of 5 $0.00 Hook for MOLLE Panel | Heavy-Duty (3D Print File)0 out of 5 $0.00 Hook for MOLLE Panel | Light-Duty (3D Print File)0 out of 5 $0.00 Bin -Small- for MOLLE Panel (3D Print File)0 out of 5 $0.00 3/4″ Spring Clamp Holder for MOLLE Panel (3D Print File)0 out of 5 $0.00 Bin -Medium- for MOLLE Panel (3D Print File)0 out of 5 $0.00 Water Bottle Holder for MOLLE Panel (3D Print File)0 out of 5 $0.00 Shore Power Adapter Holder (30A Female | 15A Male)- for MOLLE Panel (3D Print File)0 out of 5 $0.00 Pedro’s Tire Levers Holder for MOLLE Panel (3D Print File)0 out of 5 $0.00 Air Compressor Hose Holder for MOLLE Panel (3D Print File)0 out of 5 $0.00 Zero-G 1/2″ x 25′ Hose Holder for MOLLE Panel (3D Print File)0 out of 5 $0.00 SRAM AXS Charger/Batteries Holder for MOLLE Panel (3D Print File)0 out of 5 $0.00 (more coming soon) Installation Tools that you need to provide (not included): Rivet nut tool (for M6 rivet nuts); Hex (Allen) key (5.0 size for M6 button head screws); Drill bit for rear door plastic panel (1/8″, 3/8″, 7/16″); Step drill bit for rear door metal (3/8″) if you have one, or a regular 3/8″ drill bit works too. Passenger-Side Installation (Click on any photo to enlarge full-screen) 1. Remove the plastic panel from the door. It is held with push-pins; pull hard around the edges to disengage them (you can use a plastic scraper to help): 2. Remove the push-pins indicated by an arrow below. Simply slide them off to remove: 3. Install the SHORT drill jig into the push-pin hole: 4. Drill with a 1/8″ drill bit.Ensure to drill perpendicular to the surface: 5. Open the three holes with a 7/16″ drill bit from the front of the panel.All the way through, including the push-pin tab at the back. It’s easier to drill to 3/8″, then to 7/16″: 6. Install M6 rivet nuts in the holes indicated by an arrow:Refer to our Threaded Inserts Guide as required. 7. TIP: If the tool bottoms out at the left lower hole, you can use a stack of washers to prevent that: 8. Reinstall the panel with the three spacers: 9. TIP: the spacers go through the front of the panel, but also through the push-pin tab (so all the way, for the spacer to be in contact with the rivet nut!): 10. Install the molle panel with three screws. Insert the LONG drill jig into the top hole. Drill through the plastic panel and to mark the metal with a 1/8″ drill bit: 11. Remove the molle and plastic panels, then open the 1/8″ hole (drilled/marked at previous step) with a 3/8″ bit (a step drill, like below, works best in sheet metal. But a regular drill bit works too!): 12. Debur: 13. Apply rust-preventative paint on the bare metal, let cure, and install a M6 rivet nut: 14. Reinstall the dust/weather sheet, and ensure plastic is not obstructing the top hole: 15. Install the plastic panel and insert the spacers (short spacers on the right, longer spacers on the left): 16. Fasten the molle panel with the four M6 screws (included): Driver-Side Installation Repeat exactly the same process as for the passenger-side, but with the holes marked below: We made it! Excellent work �� Compatibility These MOLLE panels are compatible with: Ford Transit cargo vans (2015 -present). Not compatible with passenger vans. Shipping Ships From: British Columbia, Canada. Carrier: Canada Post / USPS. Cost: Actual carrier shipping rate calculated at checkout. You can combine other items from our Store to save on shipping. wARRANTY, rETURNs & Refund Warranty: If there is an issue with anything, please contact us. We’ll be happy to make things right! �� Return & Refund: See our Return and Refund Policy.
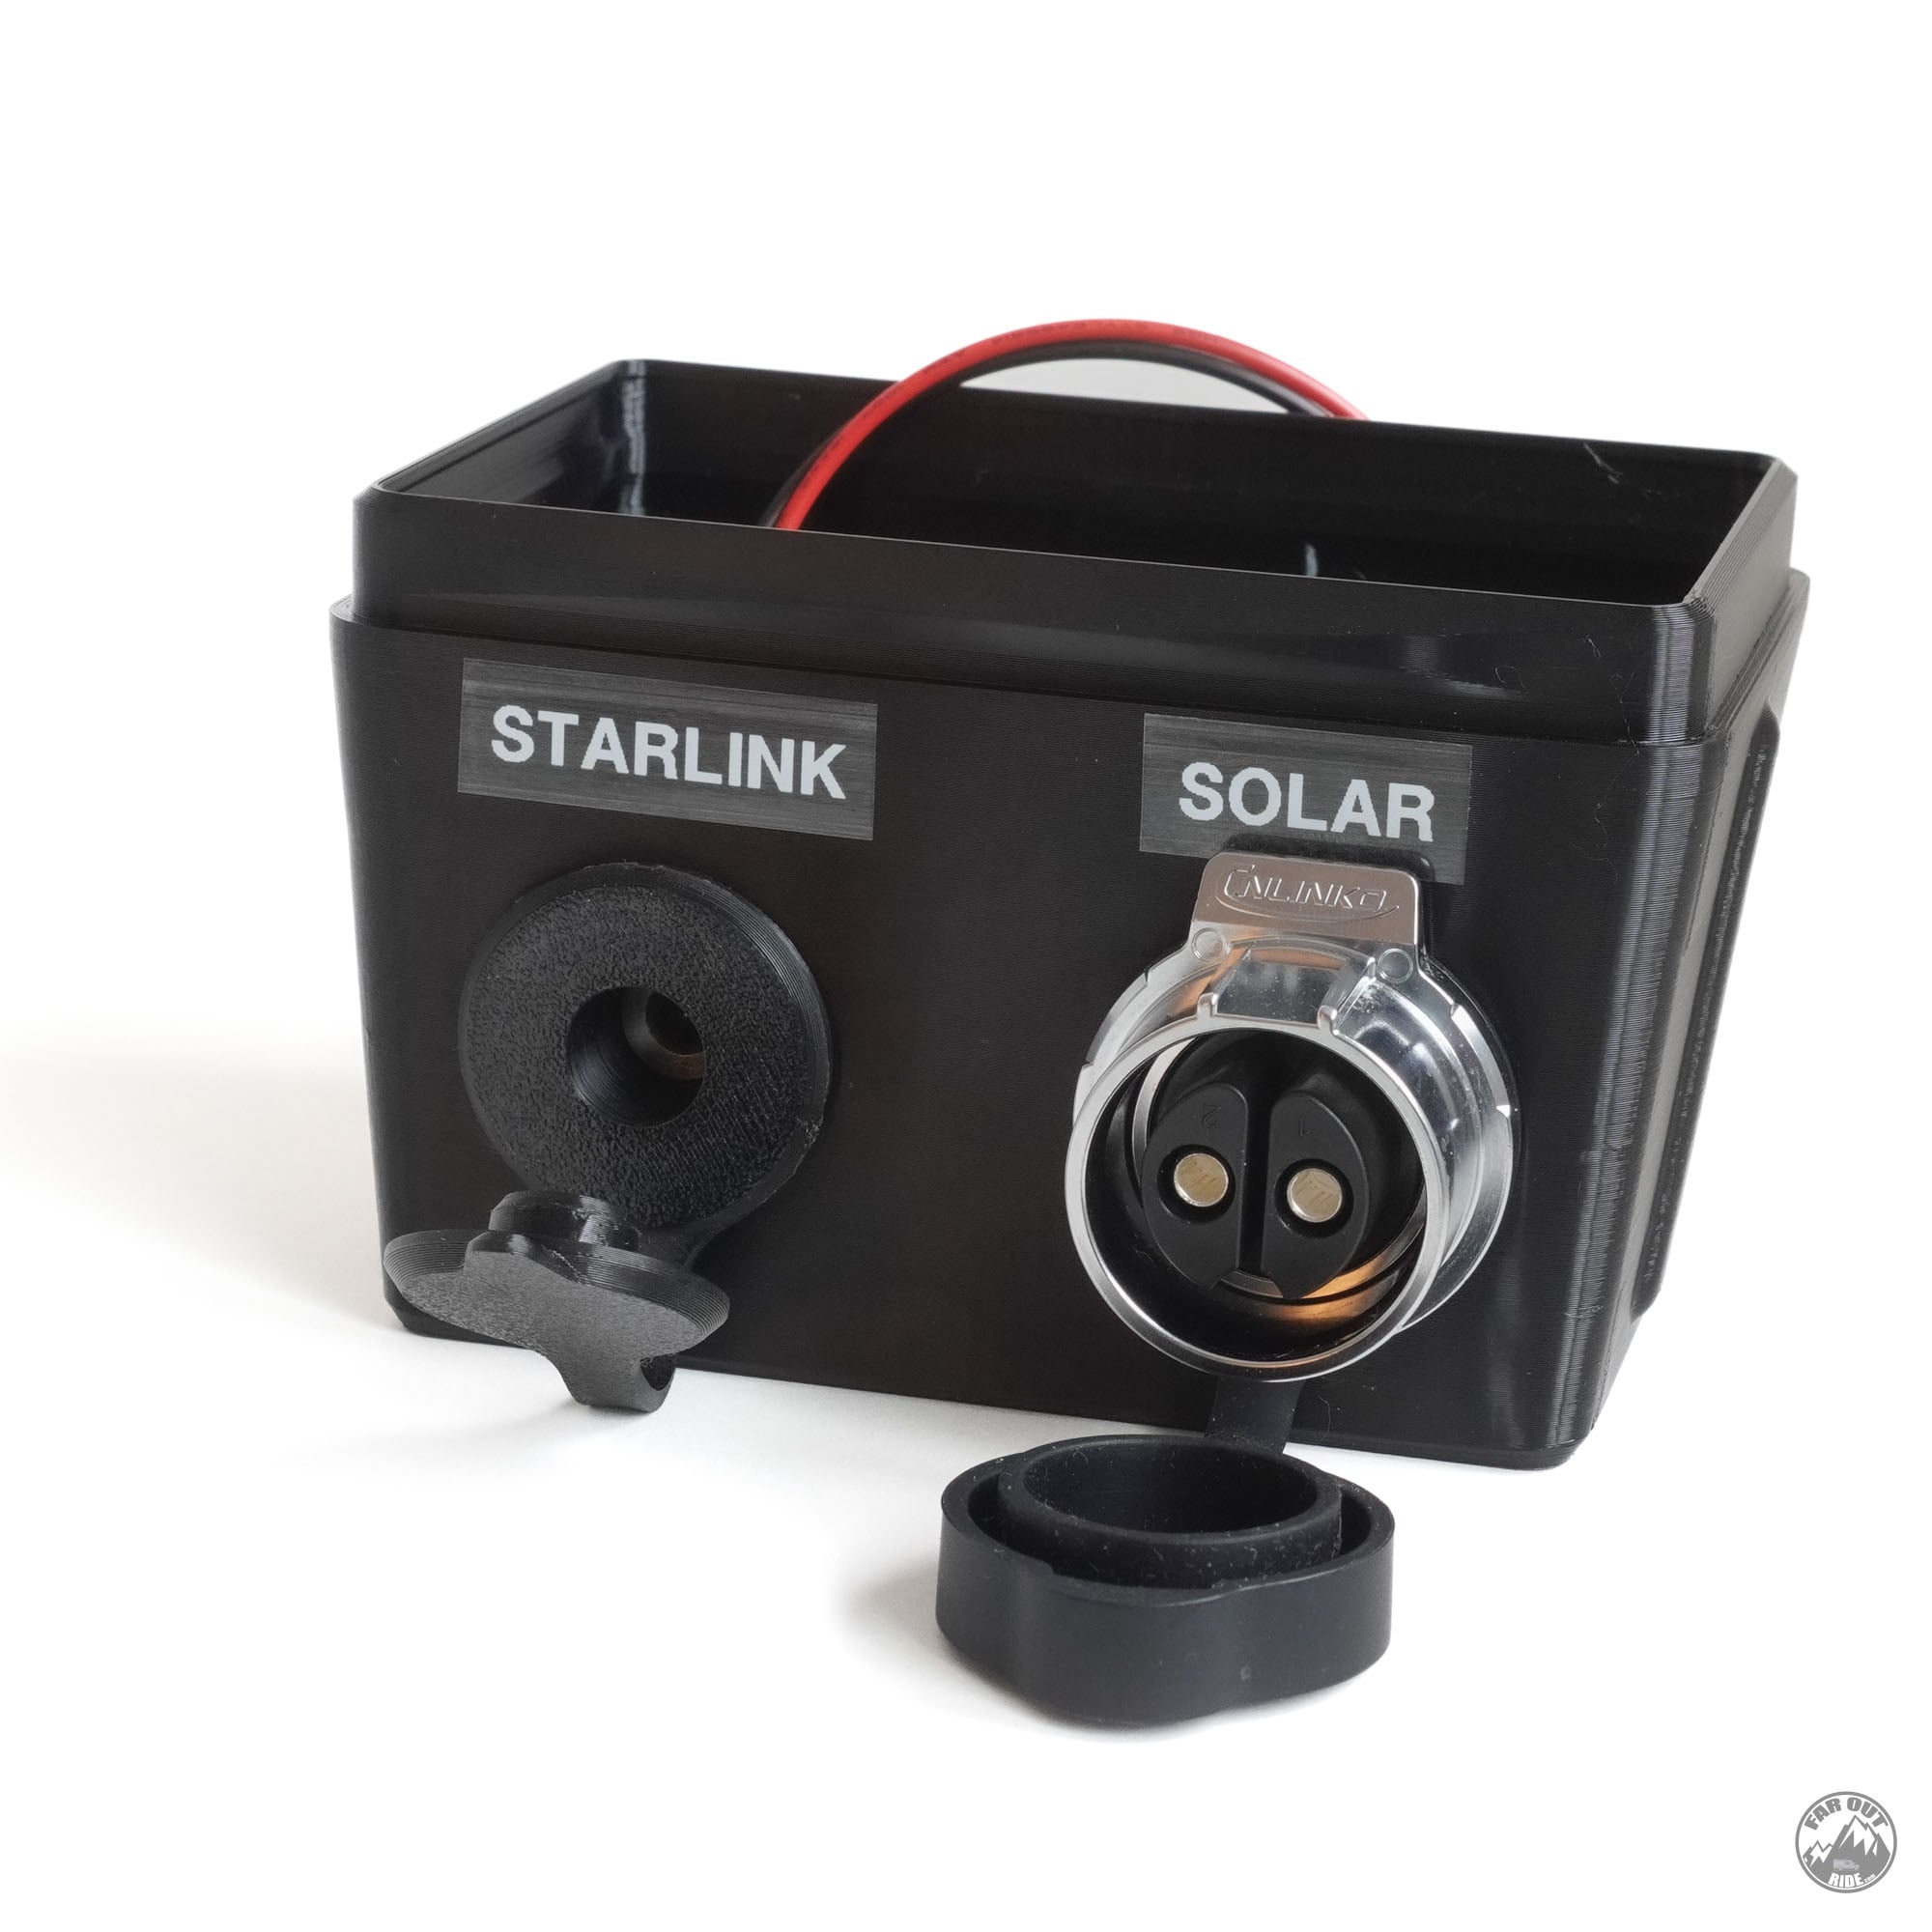 Starlink & Solar D-Pillar Entry Box for Ford Transit (No Drill / No Screw)
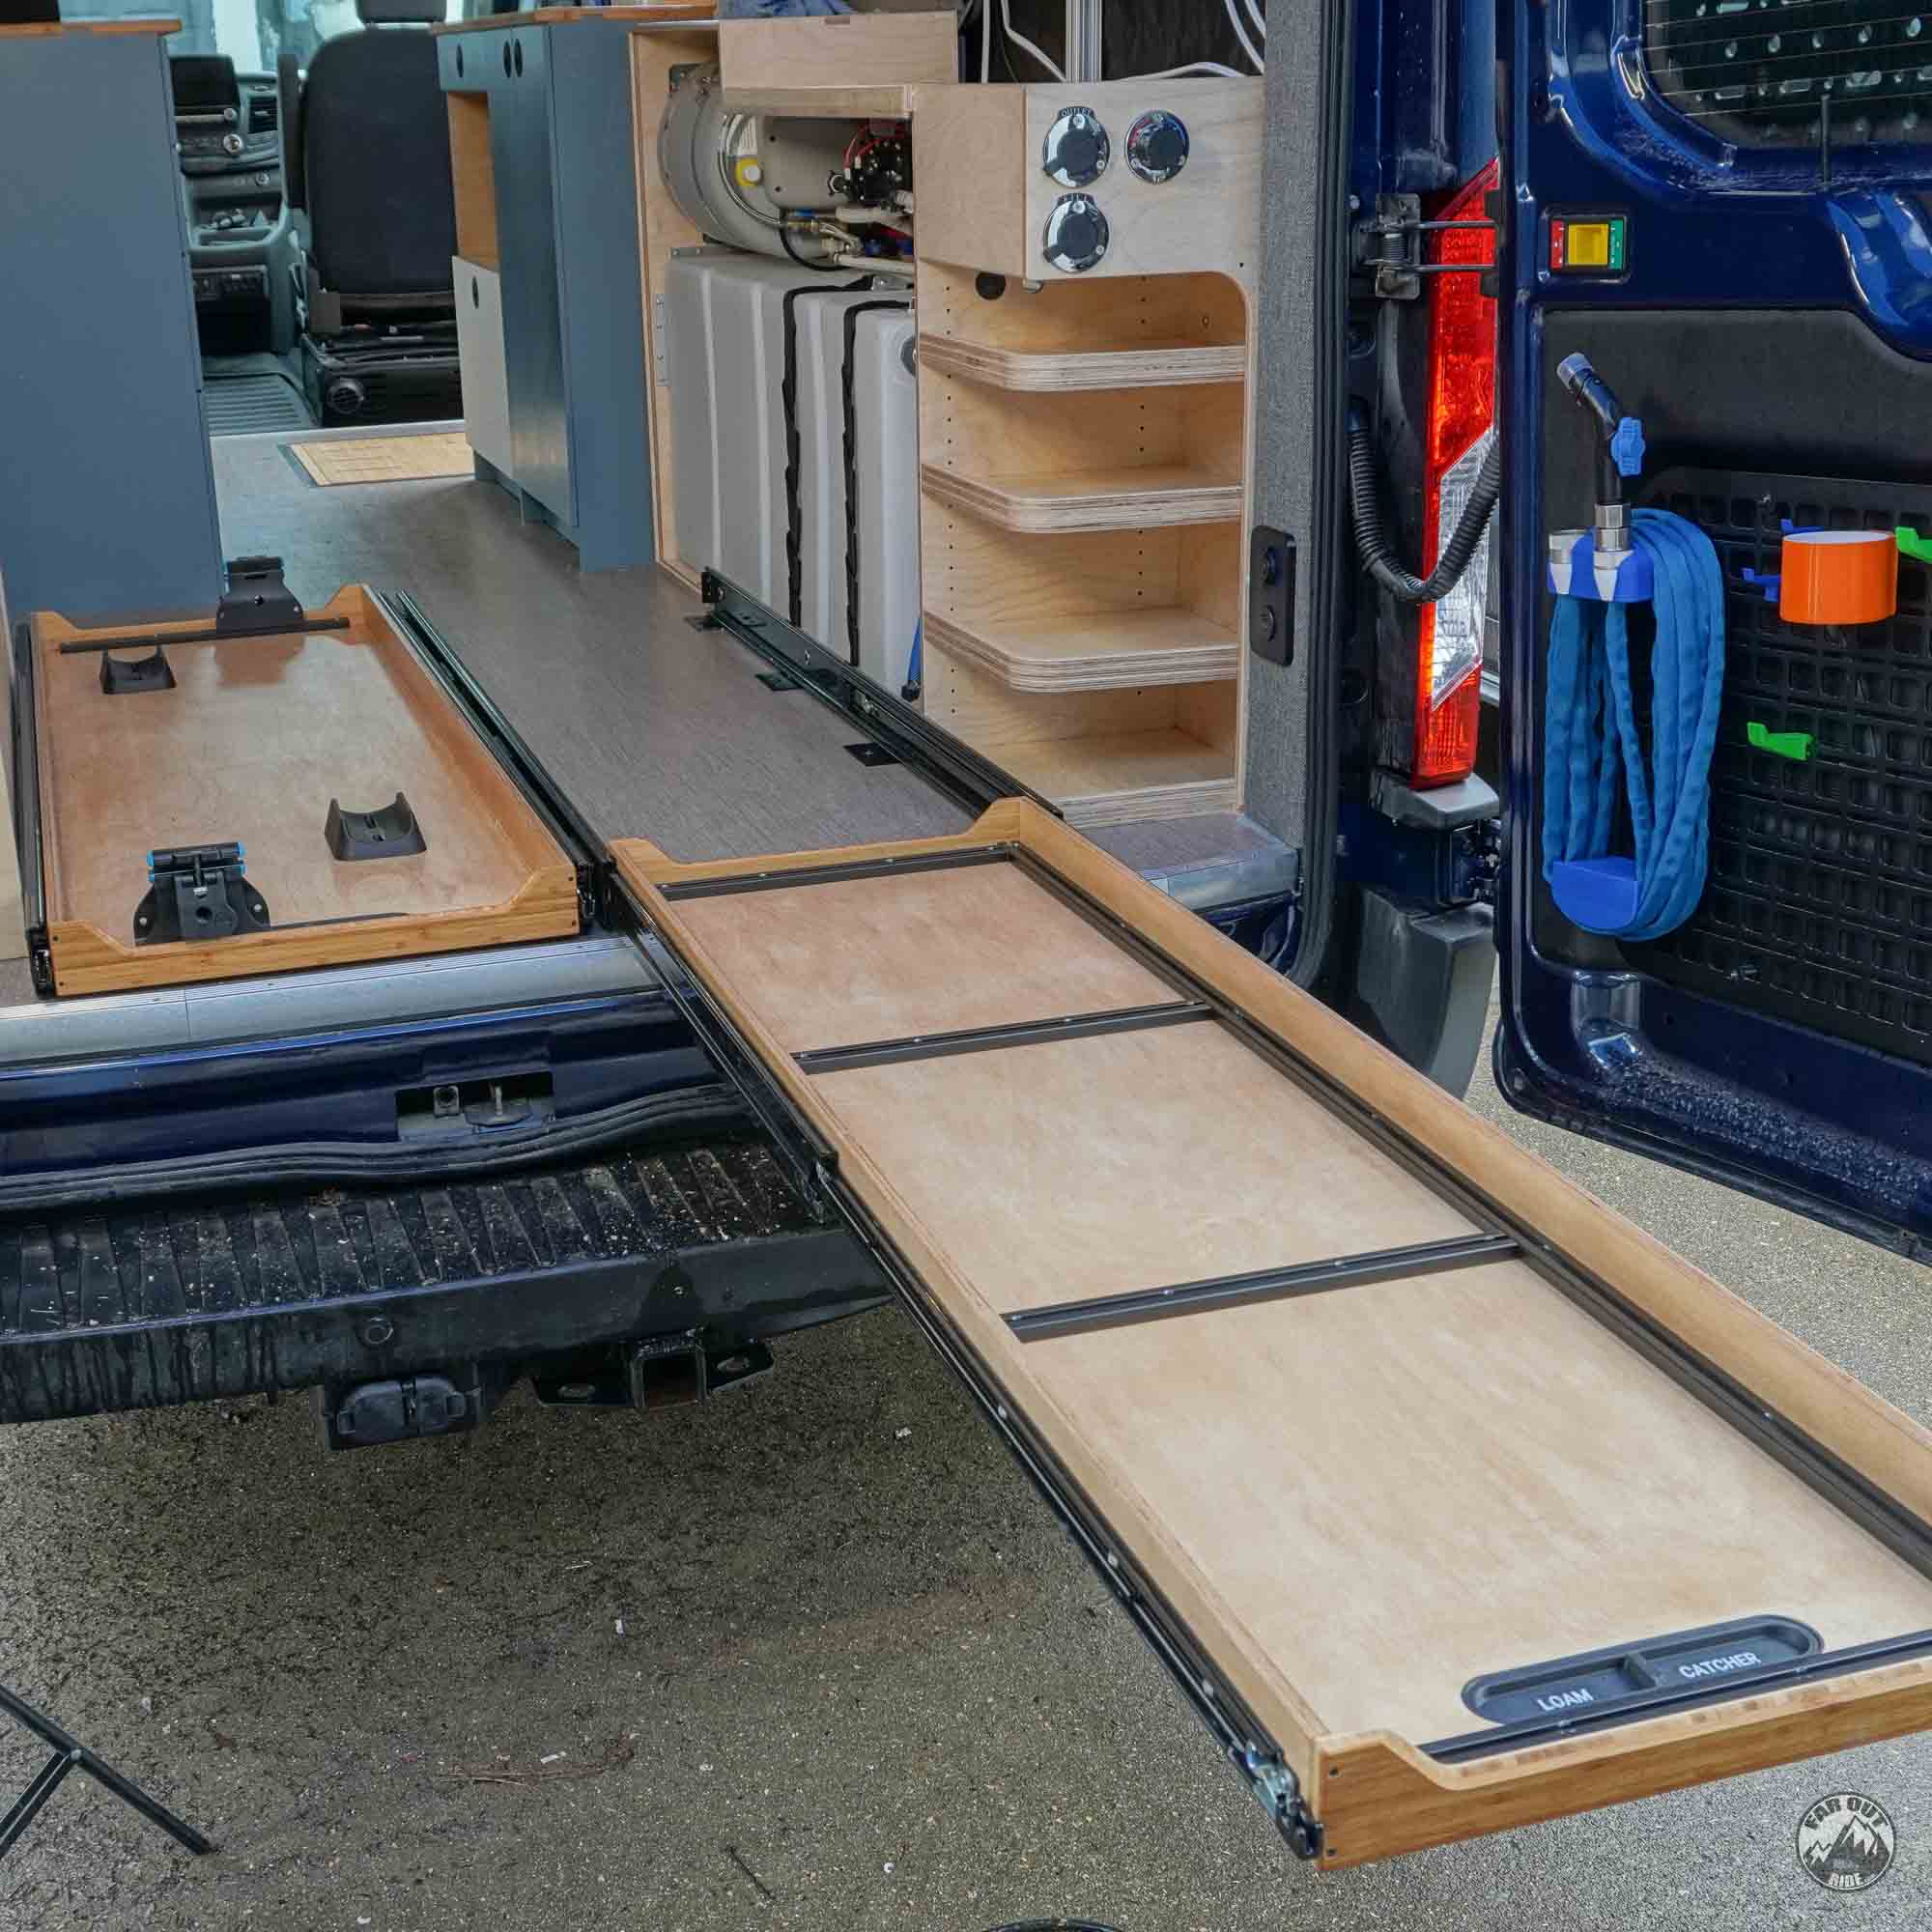 Slide-Out Tray’s 3D Printed Parts (Dust Chute & Rear Wheel Support)
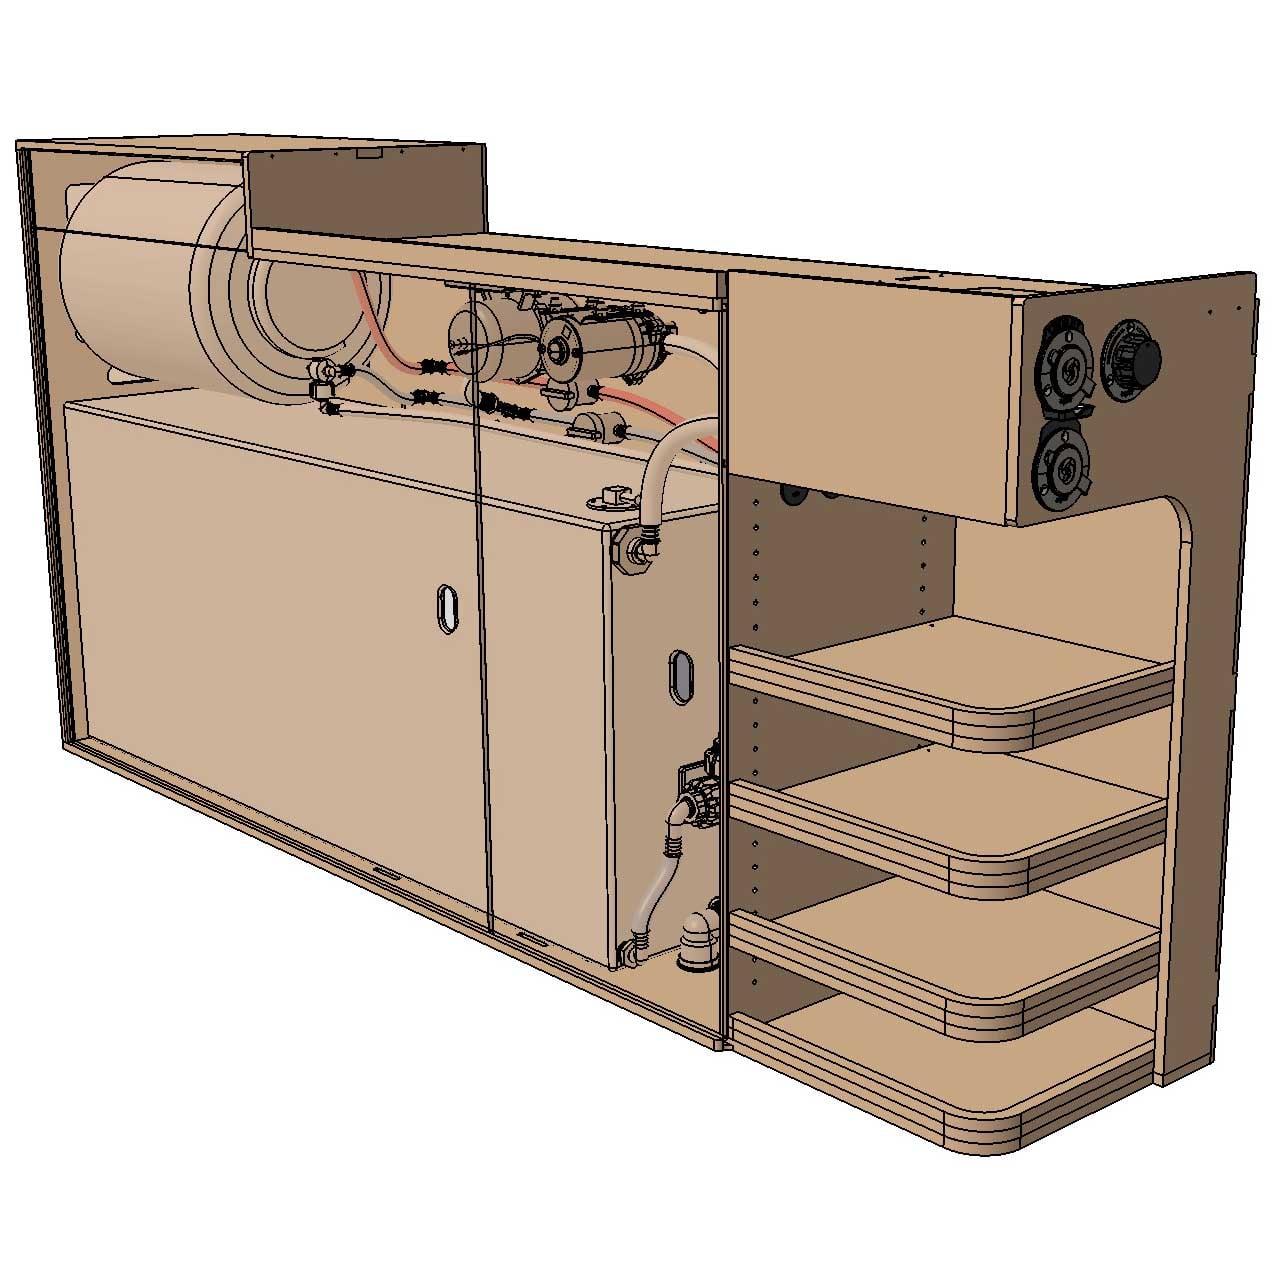 Water System Cabinet | CNC File